How to upload edits and footage
Learn where to upload video footage and edits.
Last updated May 13, 2025
After completing your shoot, you need to upload all video footage and images to the project. Follow the steps below to ensure a smooth upload process.
Uploading Footage
Navigate to the Delivery Page
- Go to the Delivery page of your project. Click on the Shoot job.
- Locate and start the Upload Footage task by clicking Start the Task as shown in the image below.
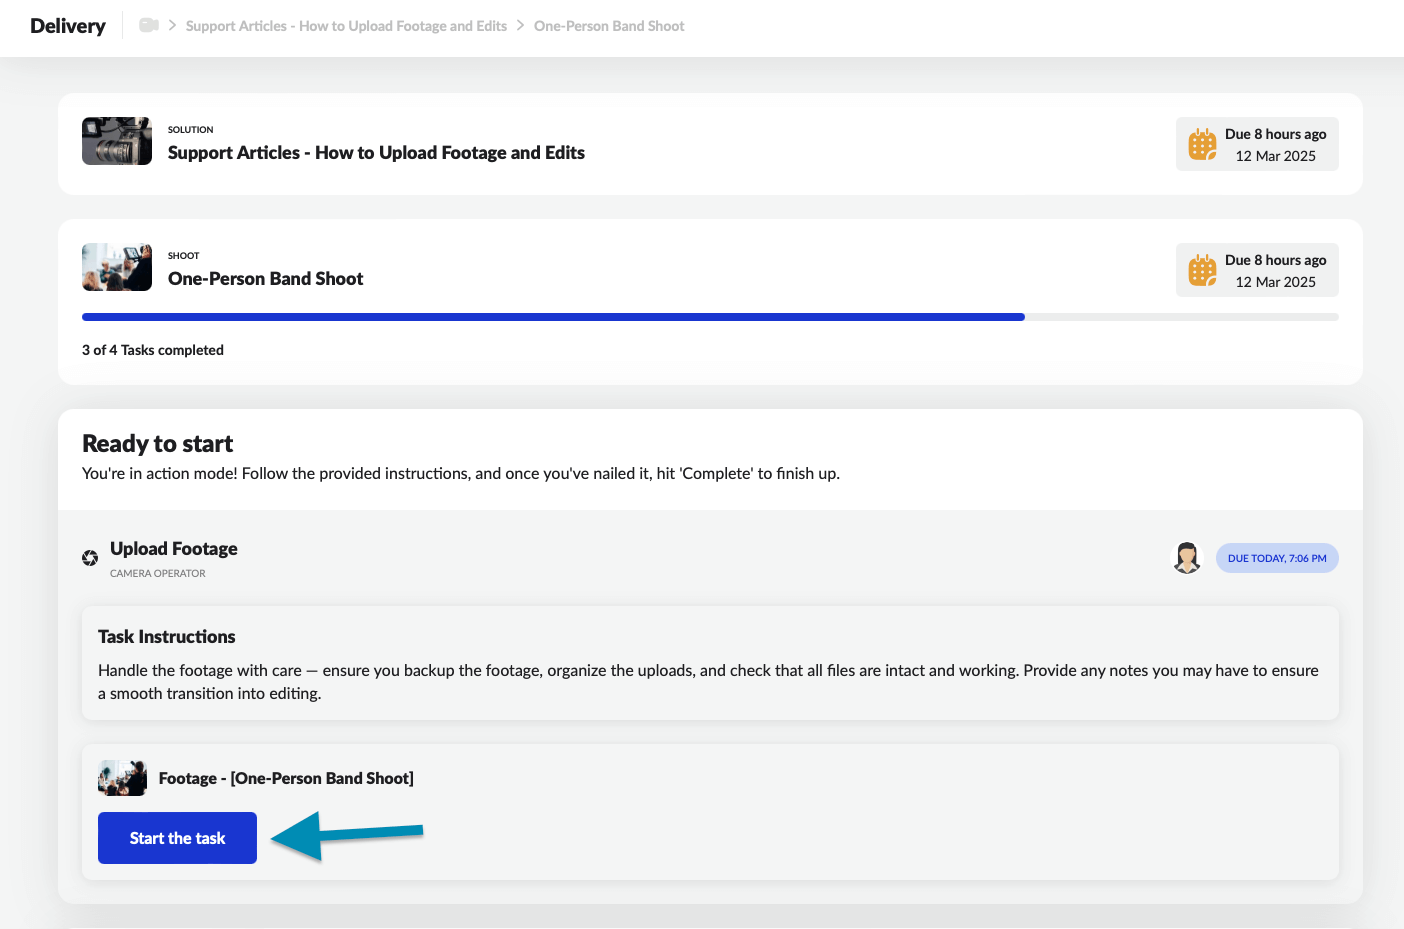
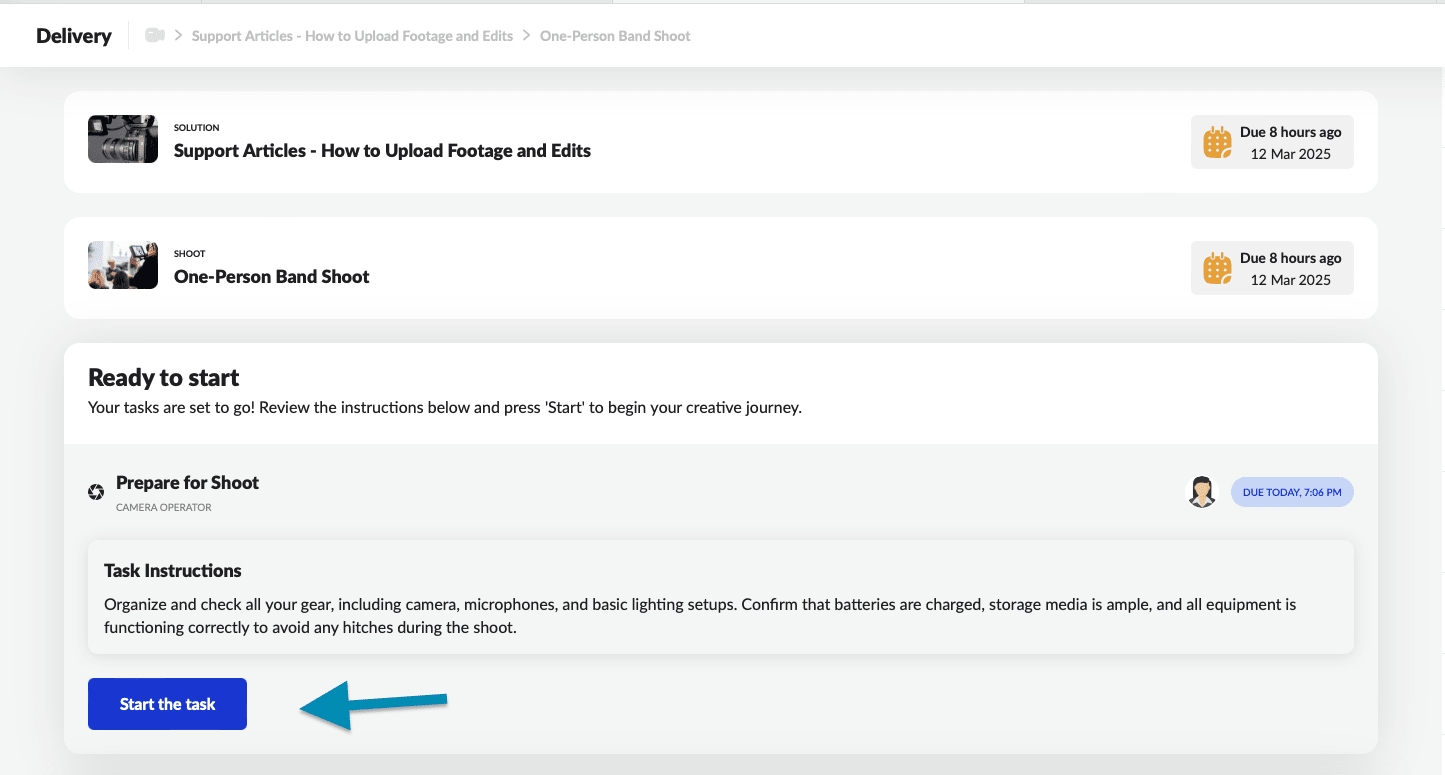
Note: If the Upload Footage task is not appearing, it may be because you haven’t completed the previous tasks in your workflow. Please ensure that all prior steps are marked as complete—once done, the platform will automatically unlock the Upload Footage task.
Upload Your Footage
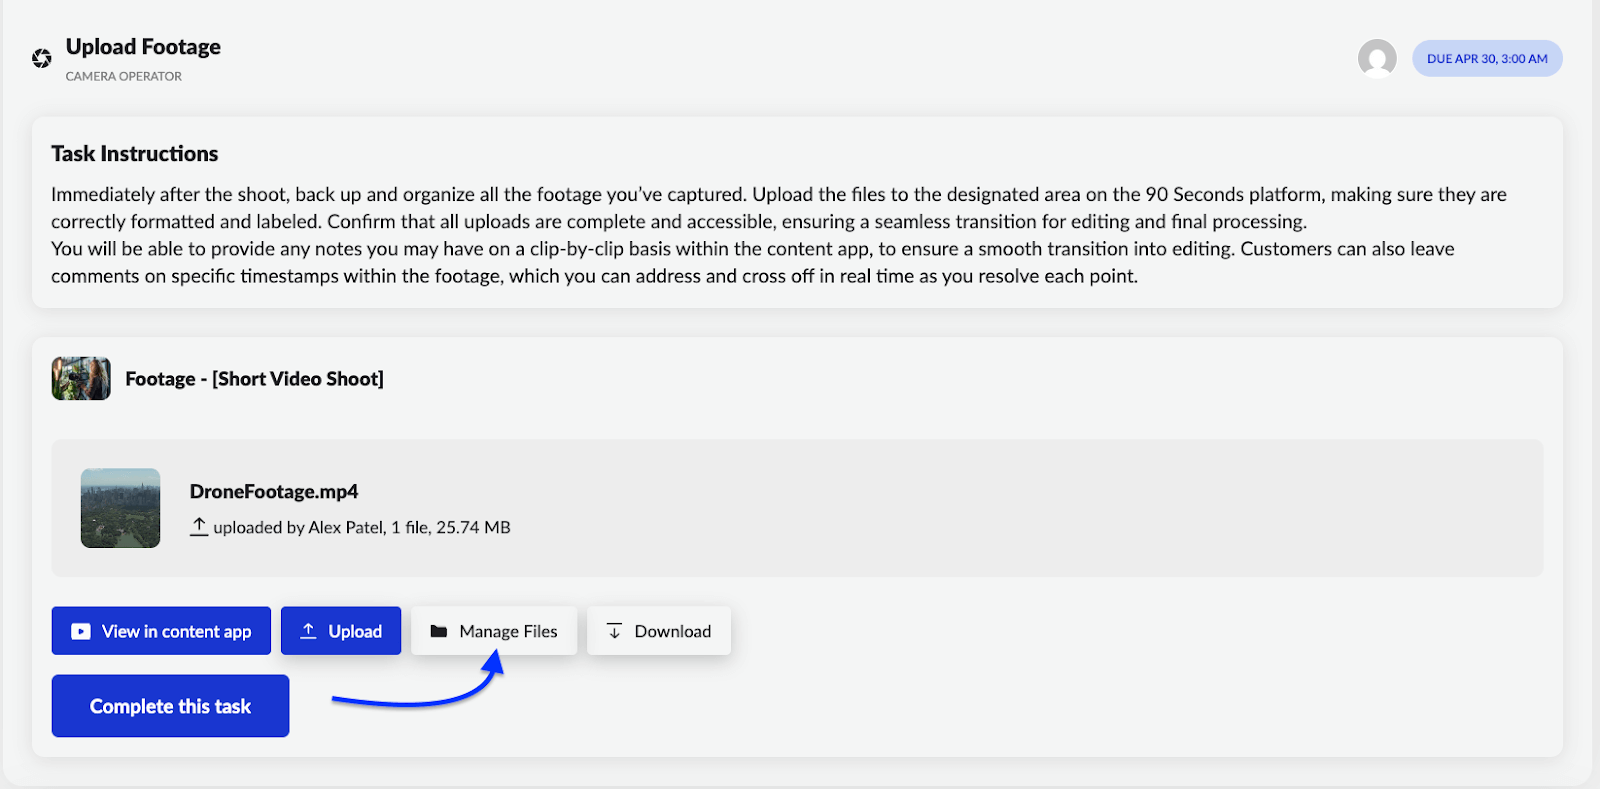
Once inside the task:
- Click the Upload button.
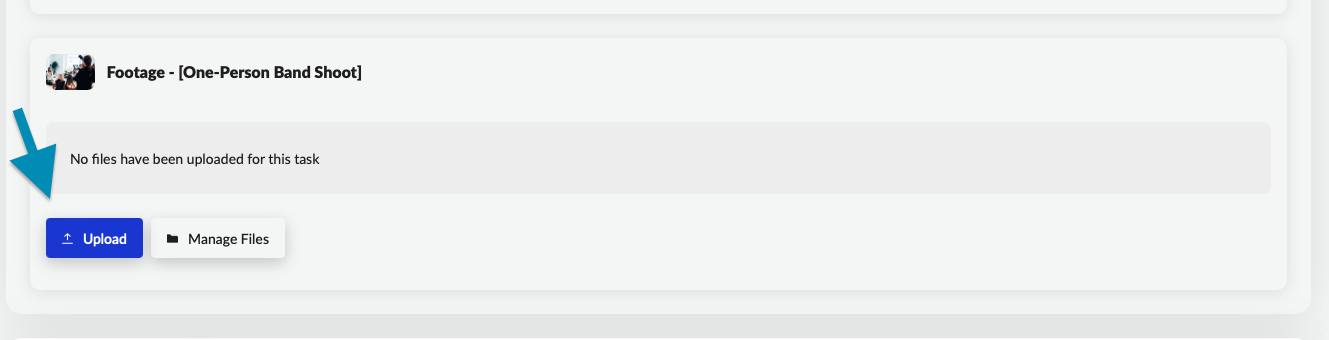
- Select and upload your footage files. Do not upload compressed files, select each individual footage file for upload. You can select multiple files in the upload menu.

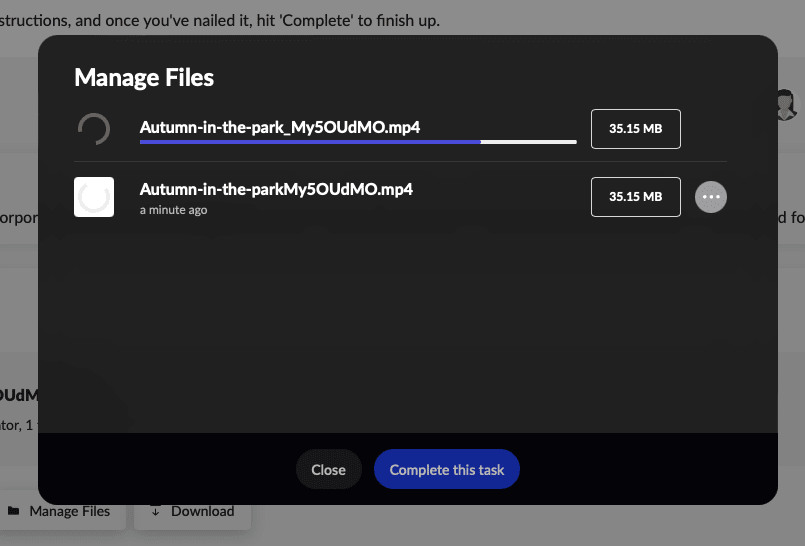
Important: Keep the upload window open until the process is complete.
Once the file is uploading, you’ll see a progress bar, as shown below:
After the upload completes, click Complete this Task to finalize. Make sure you have uploaded all your files before completing the task.
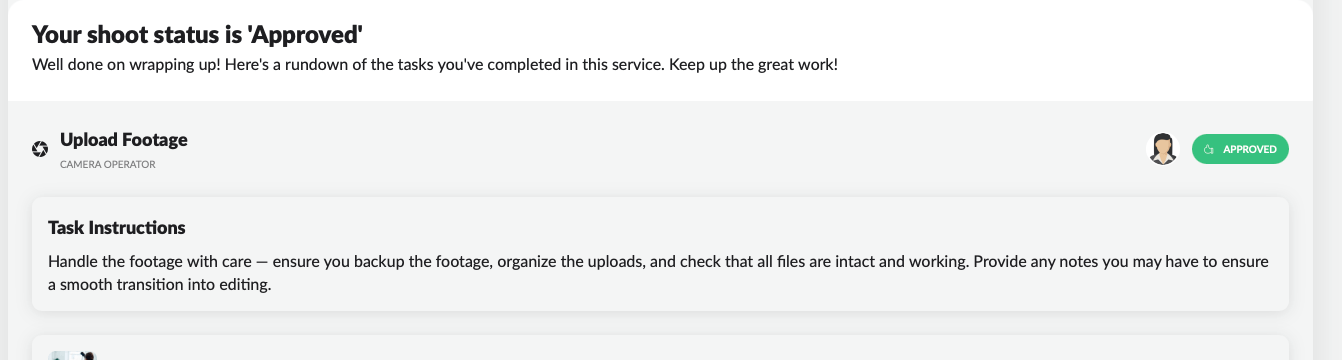
Your footage is now uploaded and in review status.
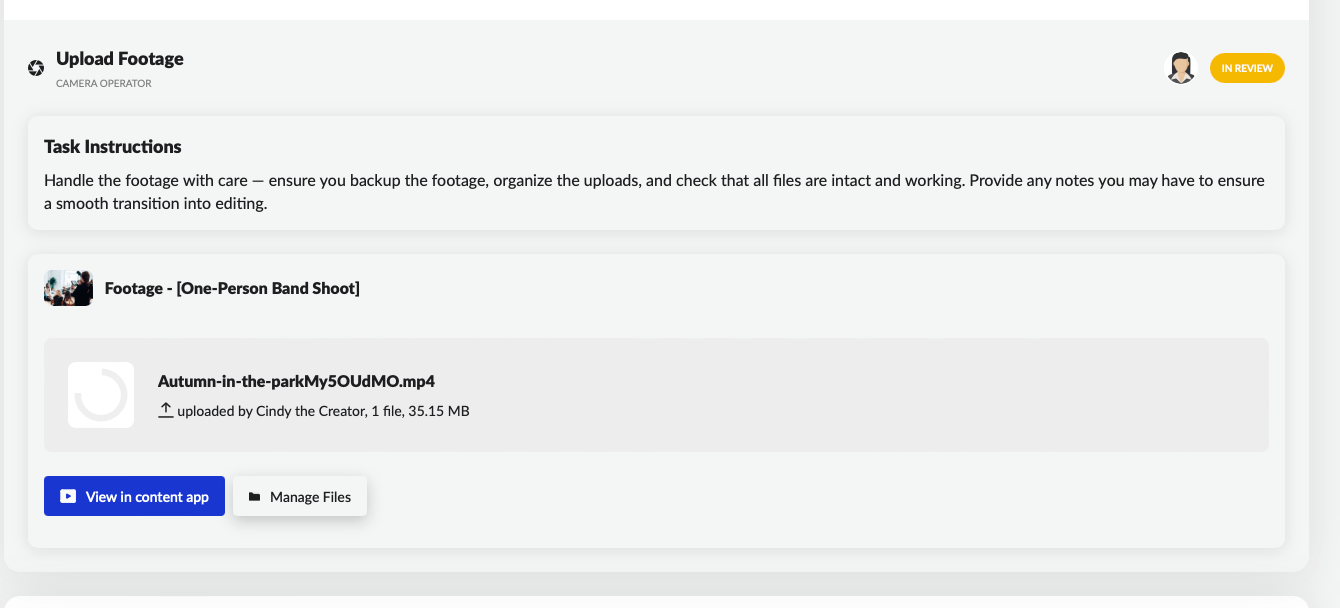
Once everything is successfully reviewed and meets the required standards, the status will update to Approved, indicating that your upload has been finalized and accepted.
Troubleshooting Upload Issues
If you experience issues uploading footage, contact the Concierge Team using the chat function on the right side of the delivery page.
Uploading Edits
Go to the Delivery Page
Locate and start the Editing workflow in your Delivery Page.
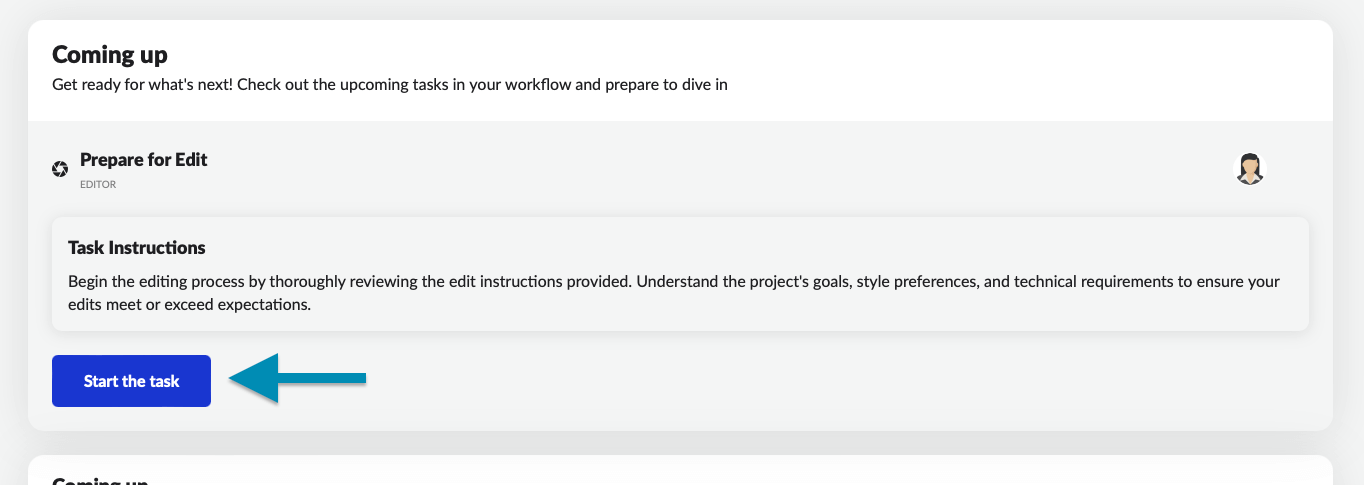
Preparing for the Edit
Before you begin editing, make sure to review the provided edit instructions carefully. This step helps you understand the project’s goals, style preferences, and technical requirements. Click Start the Task to begin.
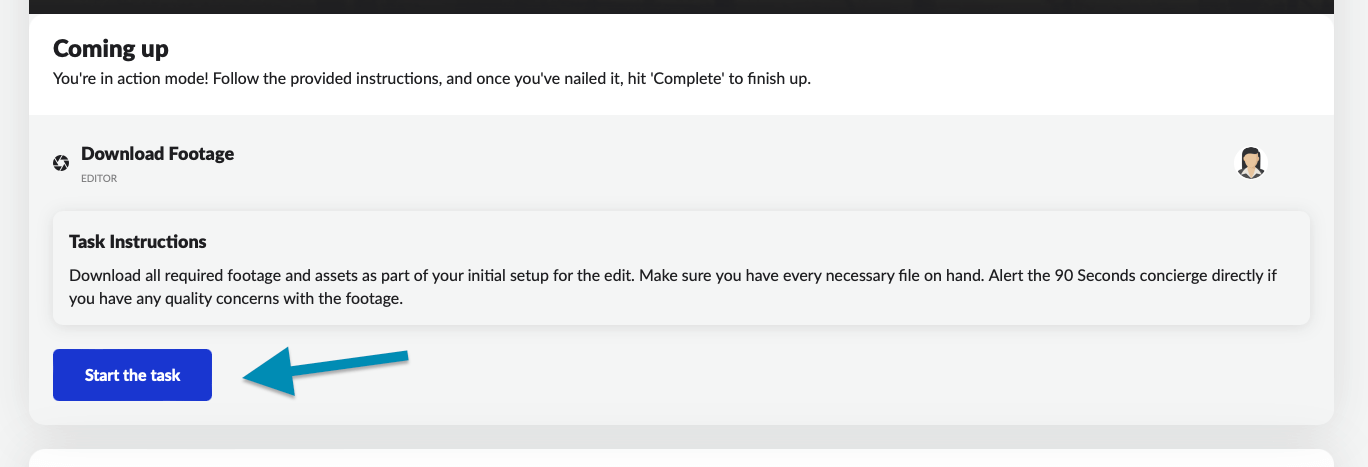
Downloading Footage
Once you’ve reviewed the edit instructions, it’s time to download the necessary footage and assets. Click Start the Task to begin downloading all required files. If you notice any issues with the footage quality, contact the 90 Seconds Concierge team immediately.
Uploading the Edit Video
Once your edit is complete and you’ve incorporated all necessary feedback, it’s time to upload it to the Content App. Click Upload to add your file, ensuring it meets the required format.

Uploading in Progress
As your video is being uploaded, you’ll see a progress bar. Make sure not to close this window until the upload is complete.
Click the complete task button once you are done as it will trigger an email notification to brands that the content is ready to be viewed.
Review Your Edit
Click on Content, at the top right of your window.

Alternatively, click the blue View in Content App button under your Upload Video task.

Now you’re in our Content App. Edit feedback will appear on the right side of the Content Player. Feedback on the Content App is timestamped to help you address necessary changes to the video.

Once the edit is reviewed, you can track its status:
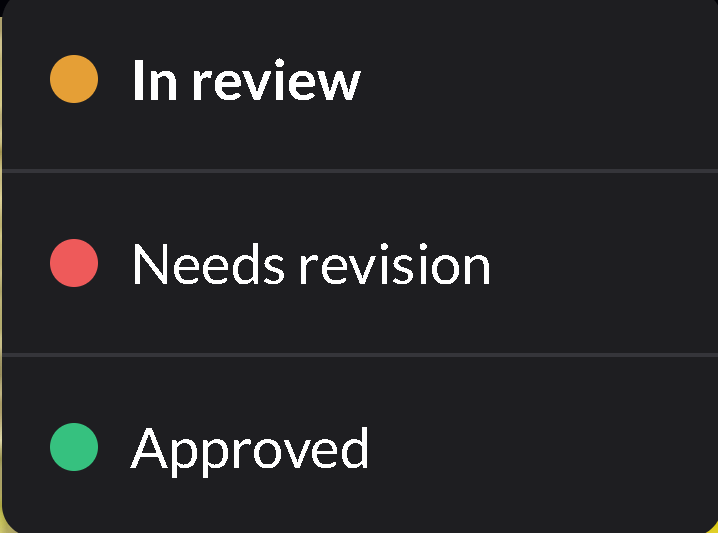
In Review – The video is being reviewed.
Needs Revision – Edits are required based on feedback.
Approved – The video has been approved by the brand.
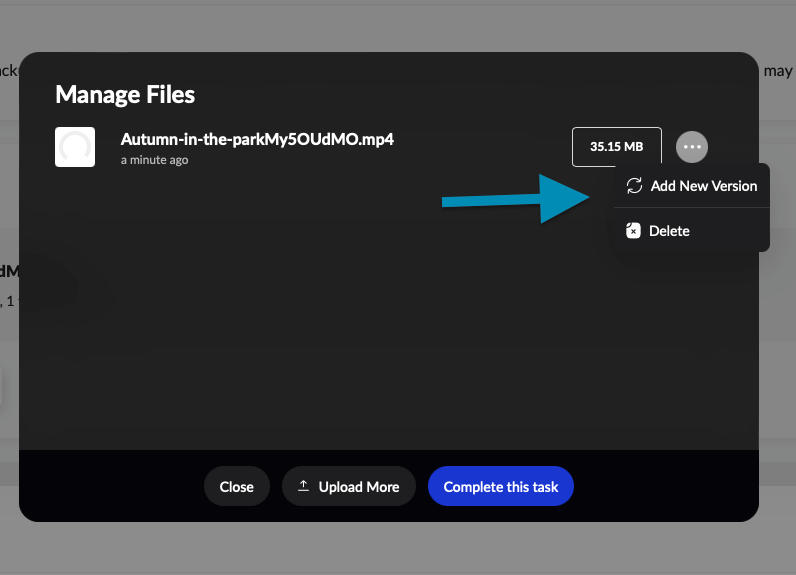
Uploading a New Version
Need to replace an existing file with a new version? Return to the Delivery page and click Manage Files under your Upload Video task. Select Add New Version from the menu. This ensures version control while keeping track of previous uploads.
Click the complete task button once you are done, this will trigger an email notification to brands that the newly uploaded version is ready to be reviewed
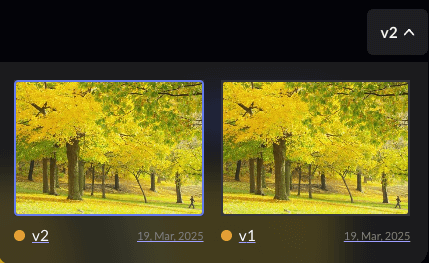
On the Content App, cycle through the versions of edit by clicking on the arrow button next to the status icon.
Frequently Asked Questions (FAQ)
What is the maximum file size for uploads?
There is no strict file size limit for uploads. However, if you experience instability, contact our Concierge Team for assistance or an alternative upload link.
Can I upload compressed folders?
You must upload individual footage files instead of compressed or zip files. The upload menu allows you to select multiple files for upload.
Who do I contact if I can’t upload footage?
Use the chat function on the Shoots Page to contact the Concierge team, or reach Support via:
– The blue chat bubble (bottom-right corner)
– Email: support@90seconds.com
What if my uploads fail or are too slow?
Notify the respective Concierge Team Member for troubleshooting. They may provide an alternative upload method if needed.
How do I remove an incorrect video upload?
- Hover over the uploaded video thumbnail.
- Click the ‘Trash’ icon to delete the file.
- Inform the Concierge Team Member about the removal.
