
Introduction
90 Seconds has introduced a new Delivery app designed to improve the workflow for Creators and Brands. This update streamlines the entire job completion process, from accepting gigs to submitting final deliverables. With clear task-based workflows, real-time tracking, and an improved approval system, creators can now manage their jobs more efficiently while ensuring high-quality content delivery.
Applying for Gigs
First, click on the invite in your Dashboard, under New Invitations.
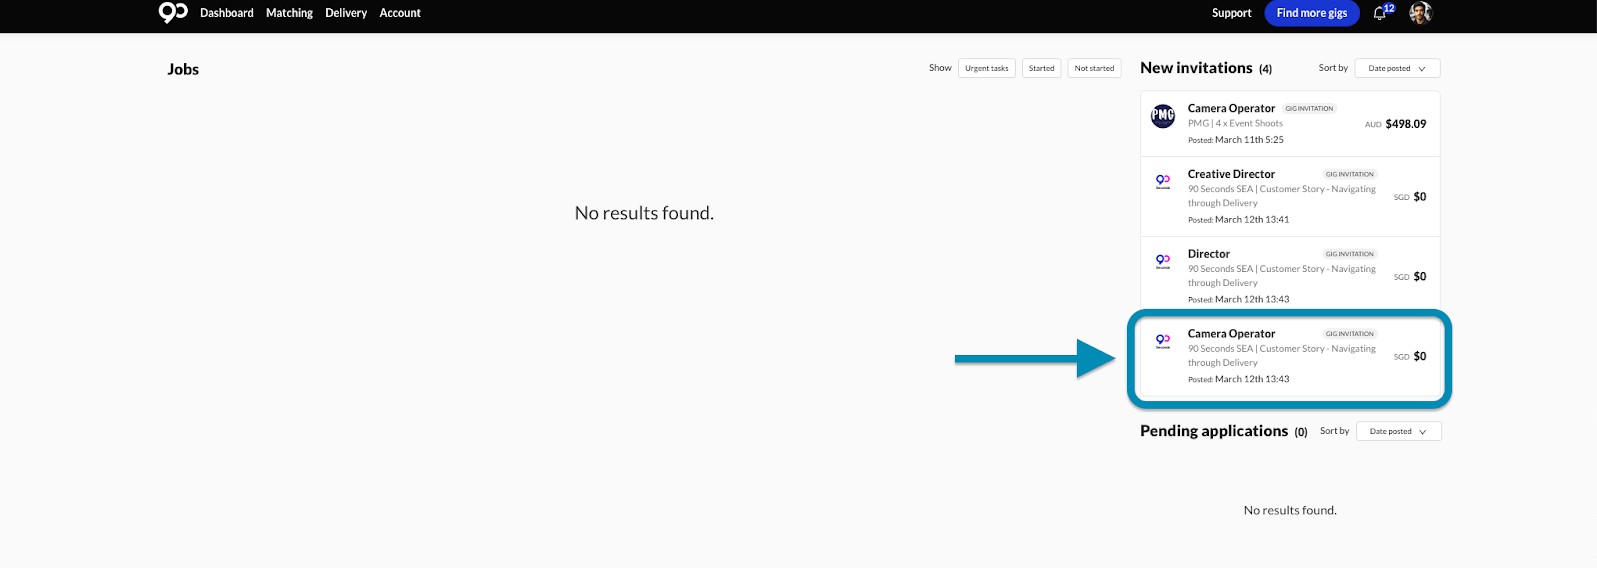
Once you receive a gig invitation, you can review the details, including the brief, location, service type, and payment information.
Review your application
Before applying for a gig, it’s essential to carefully review all the details in the Gig Summary and Brief to ensure you fully understand the job requirements. This step helps avoid confusion,
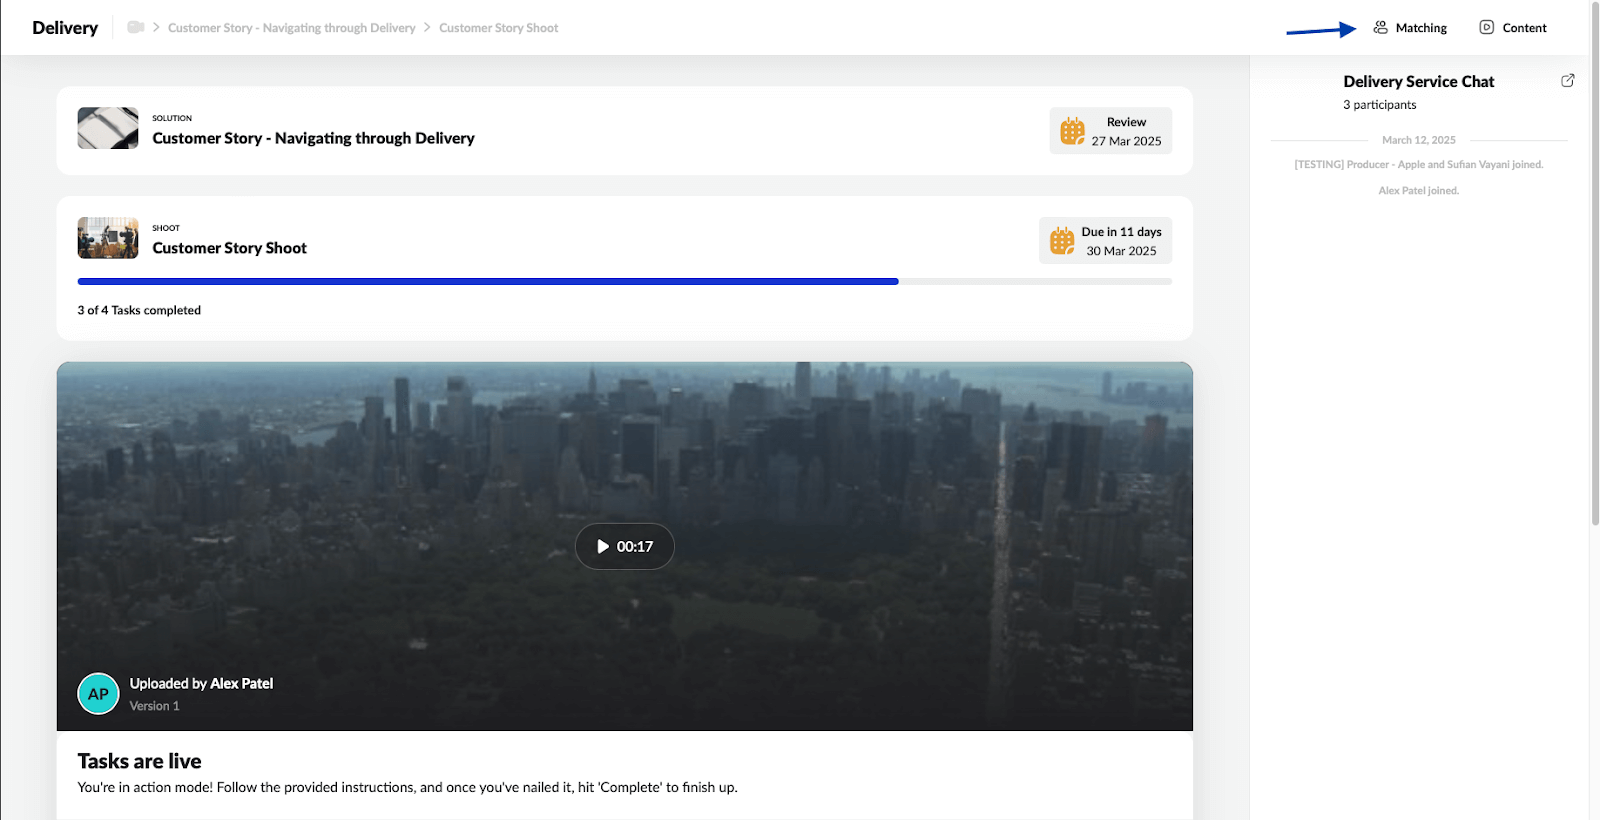
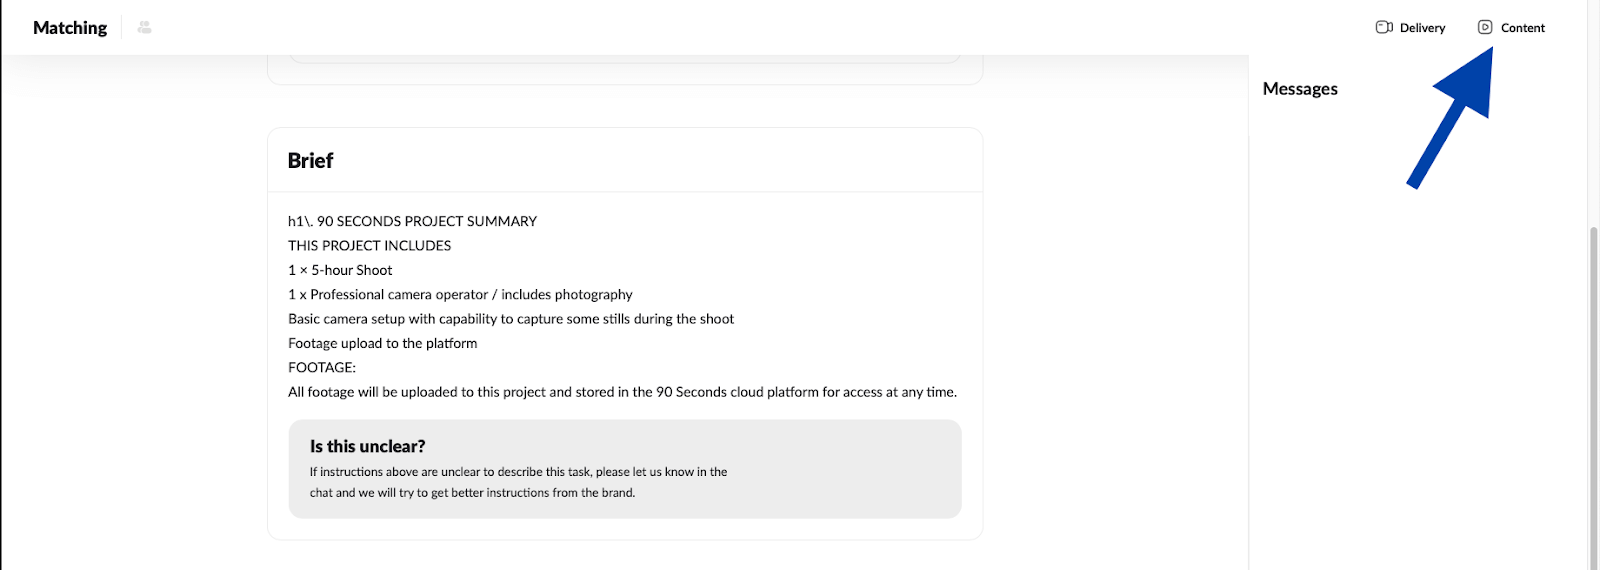
Once you’re in the project, the brief can always be found in the Match app—just click on Matching at the top corner of your screen.

If you have any further doubts, please refer to the How to Find Your Brief or Attachments in a Project section in this article.
Key Information to Check Before Applying:
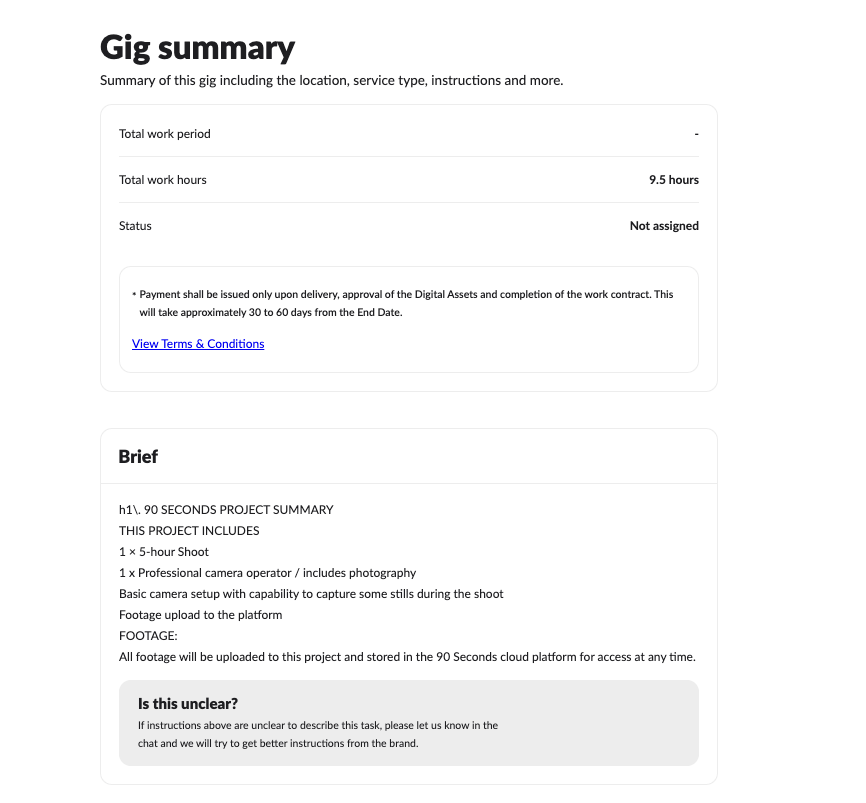
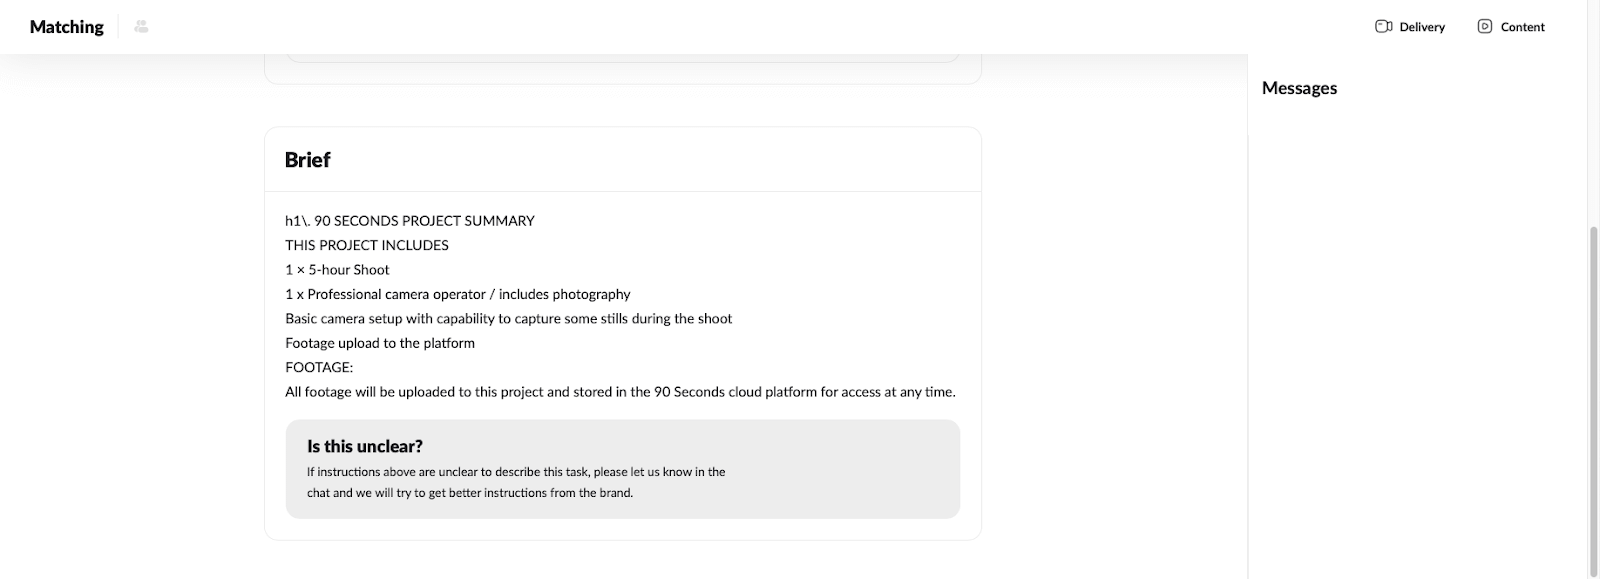
Work Hours & Scope – Confirm the total work hours and responsibilities. In the example, the gig includes 9.5 total hours across a 5-hour shoot with additional tasks such as photography and footage upload.
Equipment & Skills Required – Ensure you have the necessary camera setup and capabilities mentioned in the brief, such as capturing stills during the shoot.
Footage Delivery & Uploading – Check the instructions regarding uploading footage to the 90 Seconds platform to meet delivery expectations.
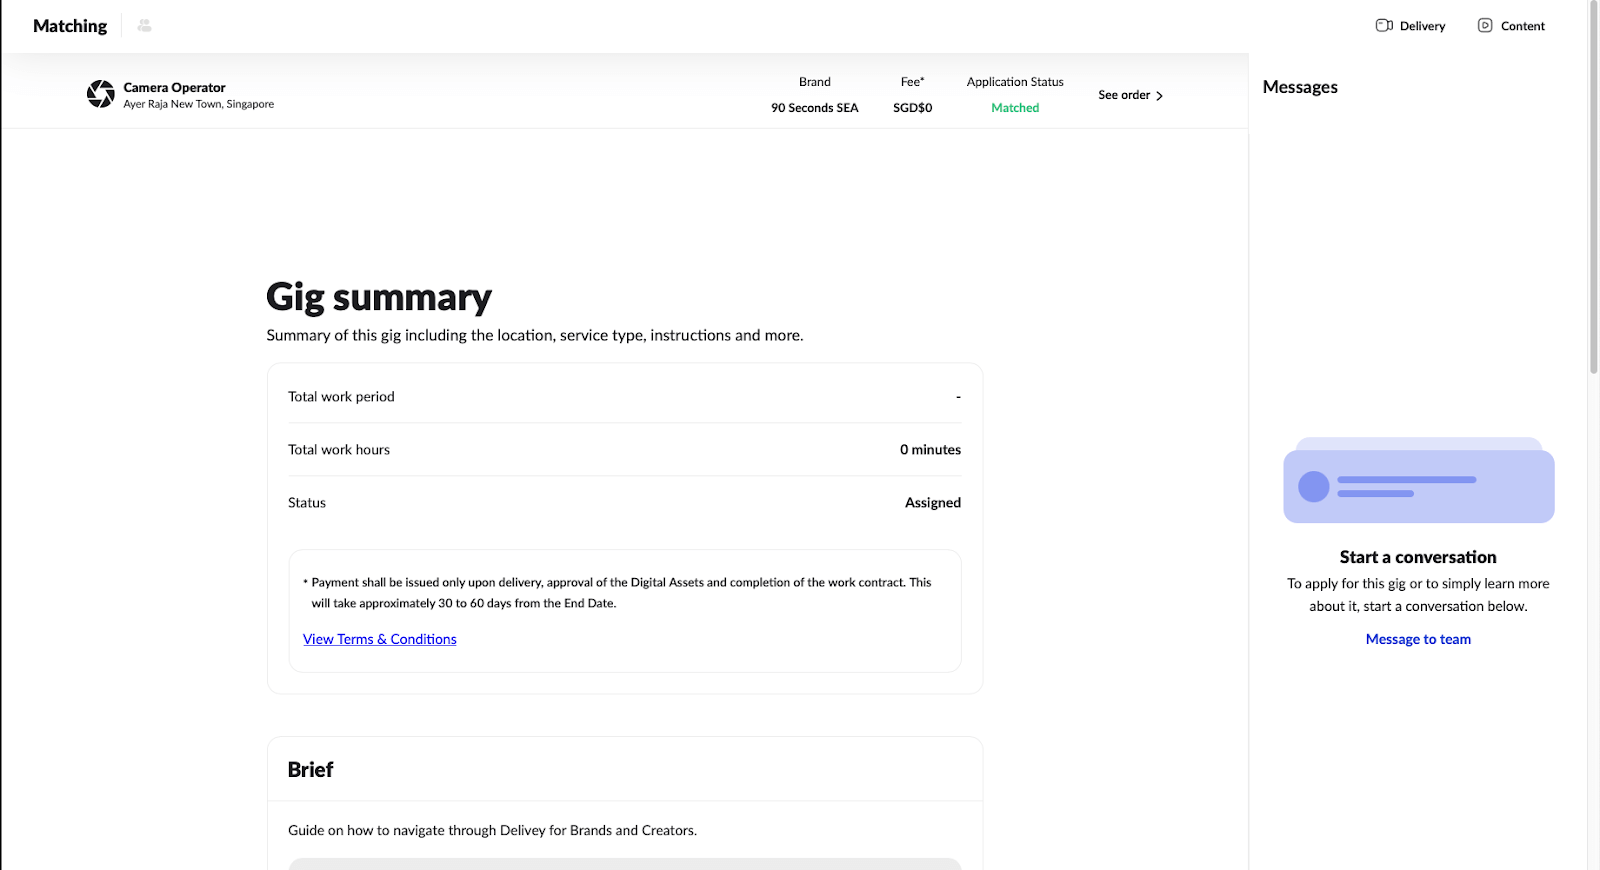
Payment Terms – Understand the payment timeline (e.g., in this gig, payment is issued upon delivery and approval, taking approximately 30 to 60 days).
Steps to Apply:
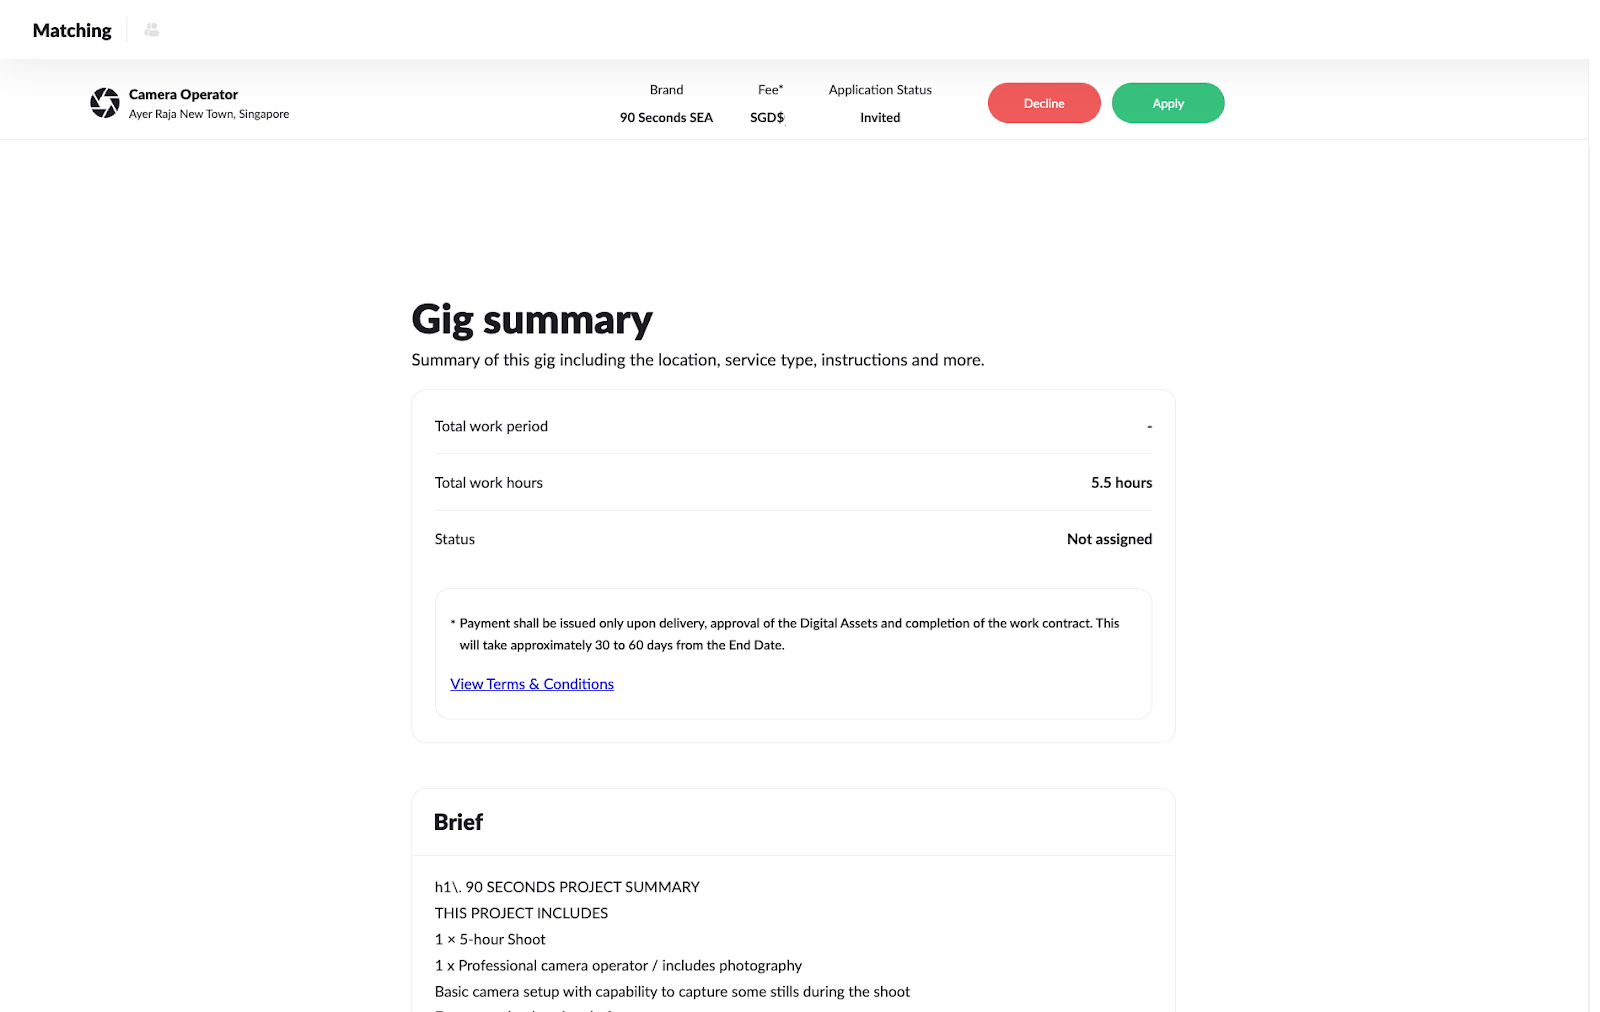
Click on the gig to view the Gig Summary. You will find important details such as the brief, work period, and payment terms here.
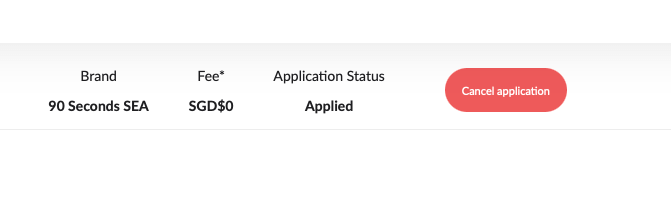
To accept the gig, click the green “Apply”.
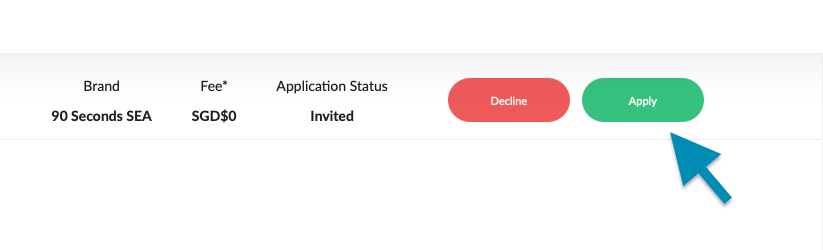
Once applied, your status will update to “Applied”, and you can cancel if needed.
Application Status
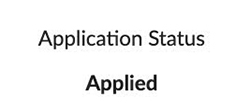
Pending Application
While your gig application is being reviewed, the ‘Application Status’ will reflect as ‘Applied’
Successful Application
If you have been successfully matched to the gig opportunity, the ‘Application Status’ will reflect as ‘Matched’

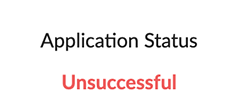
Unsuccessful Application
If you have been unsuccessful in your application, the ‘Application Status’ will reflect as ‘Unsuccessful’
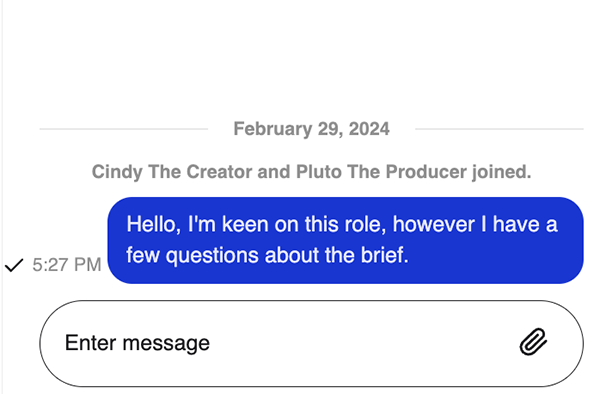
Start a Conversation
If you have any questions regarding the project, please utilise the ‘Start a conversation’ function on the right-hand side of the page.
Click the blue ‘Message to team’ button to open the chat box.
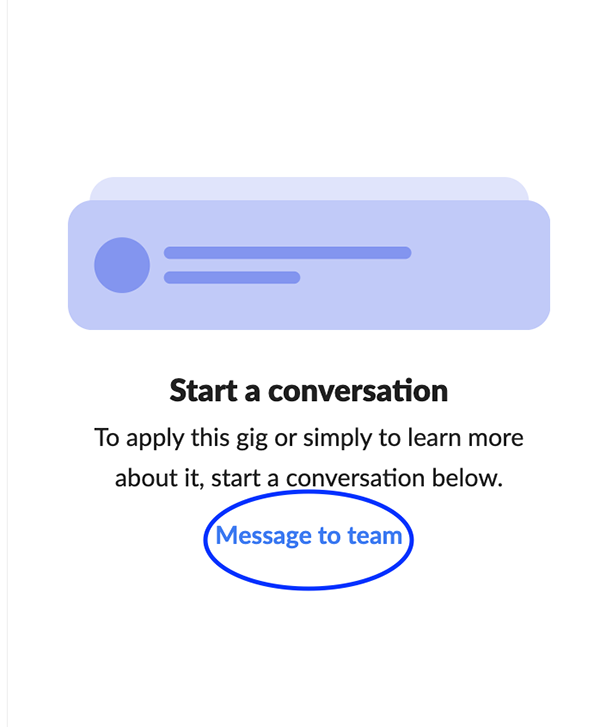
Once you’ve sent your message in the chat box, one of our Concierge Team members will follow up with you. You will also receive notifications once our producers have responded.
Managing Your Workflows
After applying, your gig will move to the Jobs Dashboard under “Scheduled” once confirmed. You can track all active jobs here.

Important: The status will show as “Waiting to start” until you start any task.
Starting Tasks
Once you’re on the delivery page, each workflow is broken down into specific tasks that need to be completed. You’ll find your tasks under the “Coming Up” section.
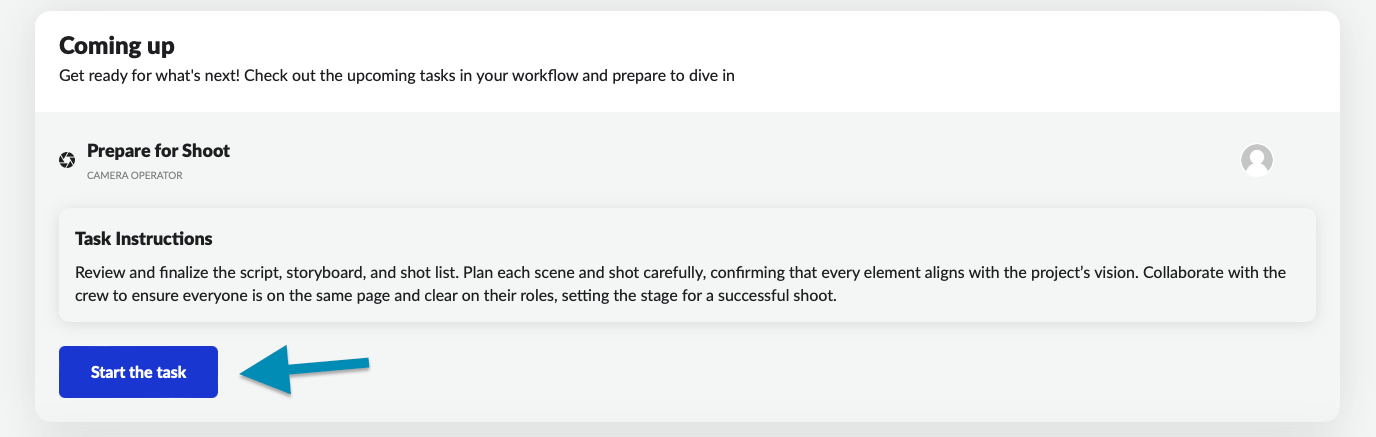
On the 90 Seconds platform, tasks must be completed in sequence to ensure a smooth workflow.
Tip: if the Start task button does not appear, hover over the profile icon to reveal the start button.
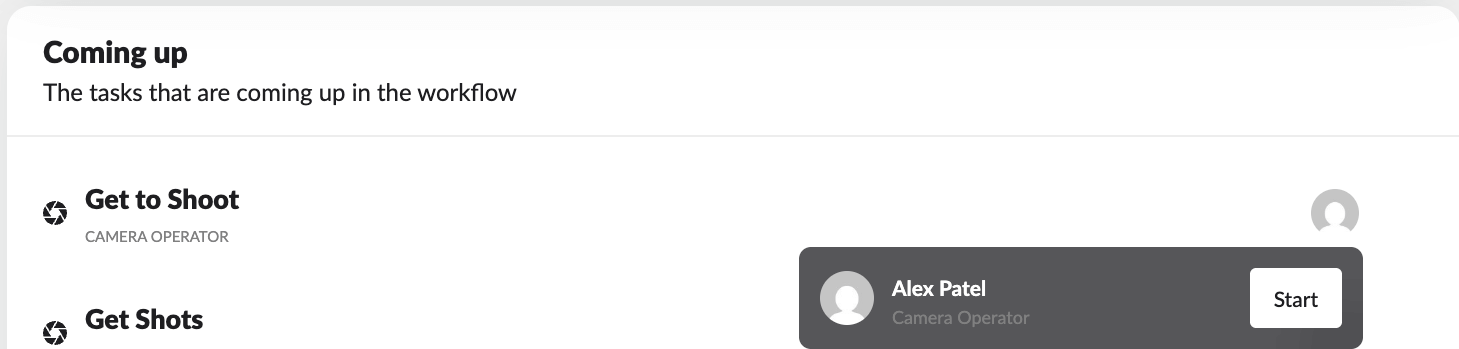
Each step unlocks the next, meaning you won’t have access to later tasks until the required previous ones are started and marked as complete.

For example, the “Upload Footage” task won’t appear immediately; you first need to start and complete the “Prepare for Shoot” task. Similarly, editors must follow a structured process—beginning with “Prepare for Edit”, then “Download Footage“, and only after these steps can they access the “Edit Video” and “Upload Video” tasks.
Always ensure that each step is completed before moving forward, as the platform will automatically unlock the next task in the sequence.
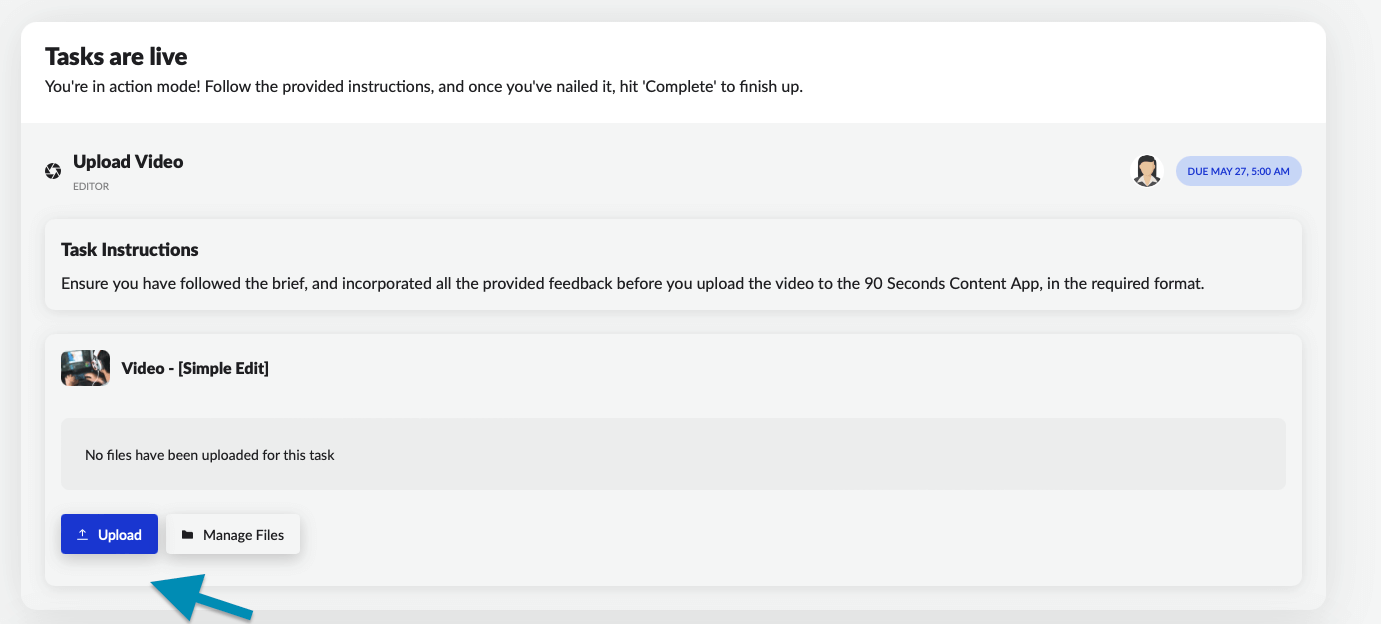
Completing Tasks
Each workflow is broken down into specific tasks that need to be completed in sequence. To start a task, carefully review the instructions to ensure you understand the requirements. Once all necessary actions are completed, click “Complete Task” (blue button) to finalize it. Only then will the next task in the workflow be unlocked.
Steps to Start a Task:
- Review the task instructions carefully.
- Once completed, click “Complete task” (blue button) to finalise it.
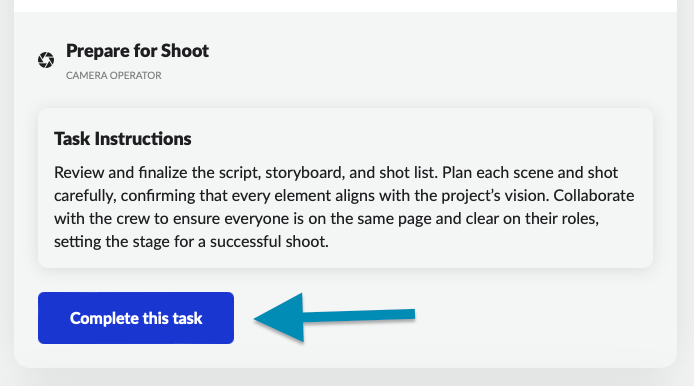
Pay attention to the Task Instructions that are provided under each task. Task Instructions may differ depending on the client.
The new Delivery app ensures better organization, transparency, and efficiency for Creators. Stay on top of your tasks, communicate effectively with brands, and ensure timely delivery to maximize your success in 90 Seconds!
How to Find Your Brief or Attachments in a Project
Go to “Matching”
In the Delivery app, navigate to the Matching tab.
Check the Contract Page and Brief
Here, you’ll find the Gig summary again, including location, service type, and instructions.
The brief contains the project details you agreed to when applying.
Access Attachments via the “Content” App
If you need to view a specific brief document, click on “Content” in the top right corner.
Go to the “Attachments” Folder
Inside the Content section, locate the Attachments folder where project documents are stored
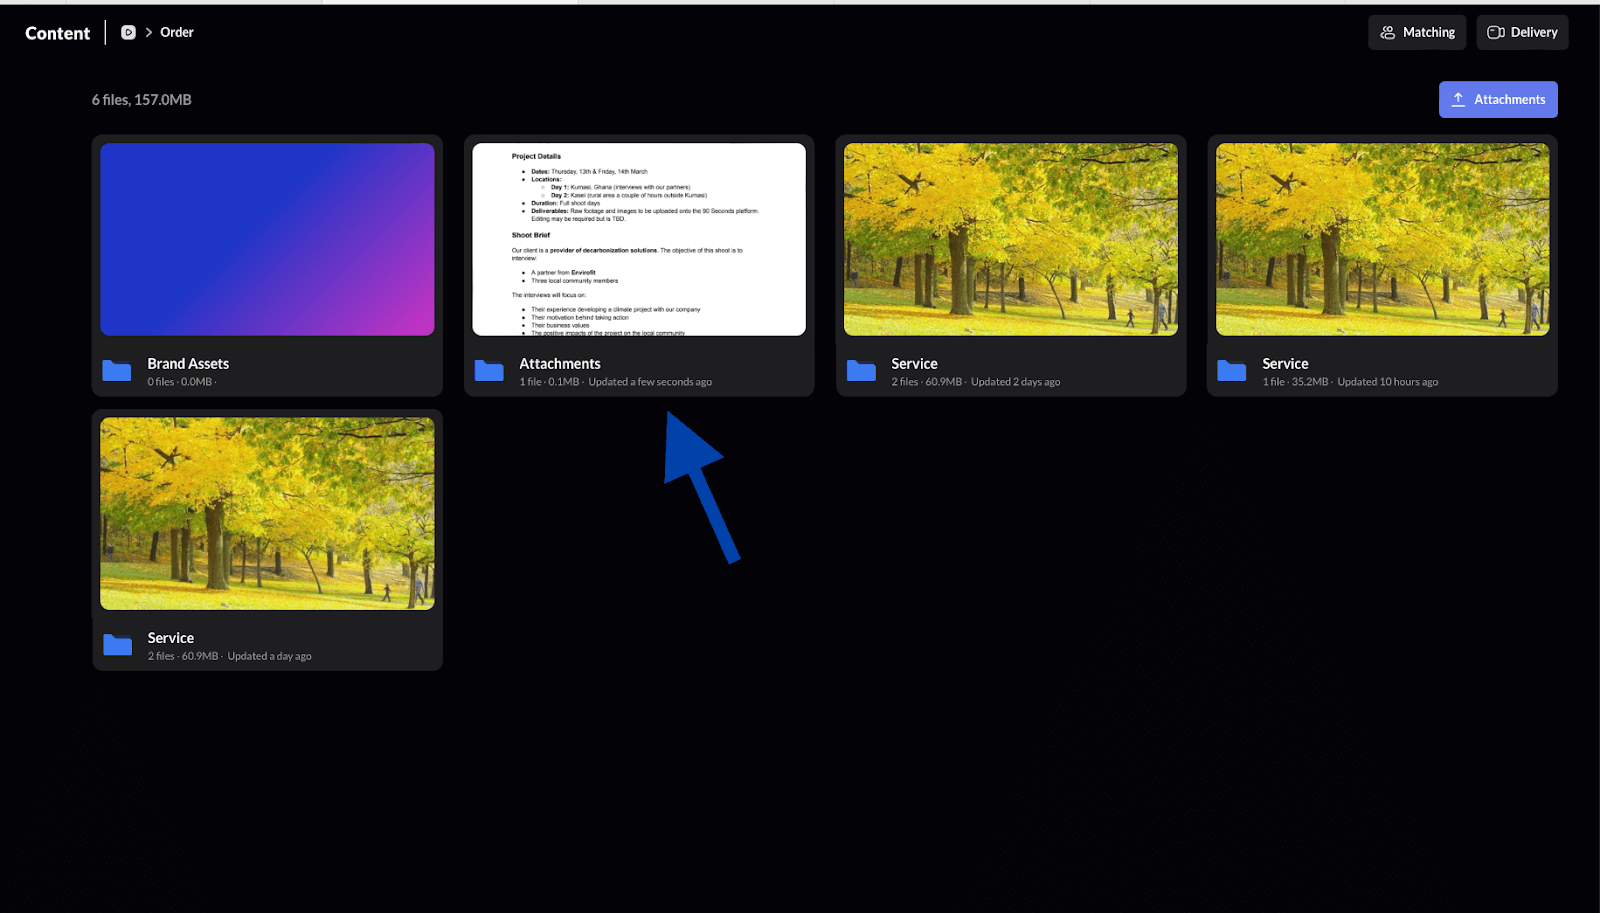
Find and Open the Brief or Other Documents
The Attachments folder contains the official brief and any other relevant project files.
